The Easy Way to Add a Gmail Signature (2 Minutes)
Adding an email signature to your Gmail account is a great way to market your brand and make a strong impression on your recipients.
In this detailed guide, I’ll show you how you can add a Gmail signature in 2-3 minutes.
Plus, I’ll share Gmail signature examples that you can use as inspiration to create your email signature.
Let’s get started.
What Is An Email Signature
An email signature is a snippet of personal or professional information added to the bottom of an email message. Its purpose is to introduce the email sender and share additional details such as professional designation, contact numbers, professional and social media profile links, and other relevant information about the sender. Some people also use a professional tagline to add more personality to their email signatures.
Gmail users can also create a signature for their emails, automatically added to the end of their message.
Why Use An Email Signature
There are several reasons why adding an email signature to your Gmail conversations is a great idea.
Quick Introduction: An email signature is a quick way to introduce yourself without writing a formal introductory paragraph in your email.
Branding: You can use an email signature to brand yourself as an expert, using your brand colors and taglines.
Memorability: An email signature makes your messages unique and easy to identify. This is important because an average internet user receives dozens of emails every day, and it’s easy to forget them unless there’s something unique about them.
Professionalism: Using an email signature is a great way to demonstrate professionalism. It shows that you’re an organized person and makes a positive impact on your recipient.
How To Add An Email Signature In Gmail
Adding an email signature in Gmail is pretty straightforward.
Gmail has also made it very simple to edit, format, and design your email signature.
Plus, you can choose to display an email signature automatically with every email you create in Gmail or insert it manually when you want.
Let me explain the whole process of creating a Gmail signature in easy and actionable steps.
Step#1: Sign in to your Gmail account.
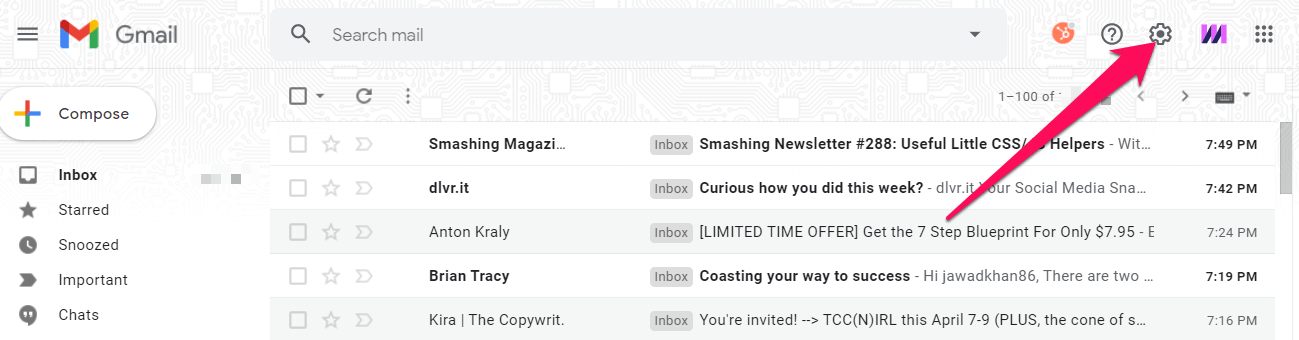
Step#2: Once your Inbox fully loads, click on the gear icon on the top-right of your screen. This opens a menu on your screen with different settings related to your Gmail account.
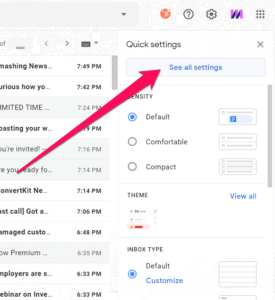
Step#3: Click on See all settings to open the detailed settings of your account.
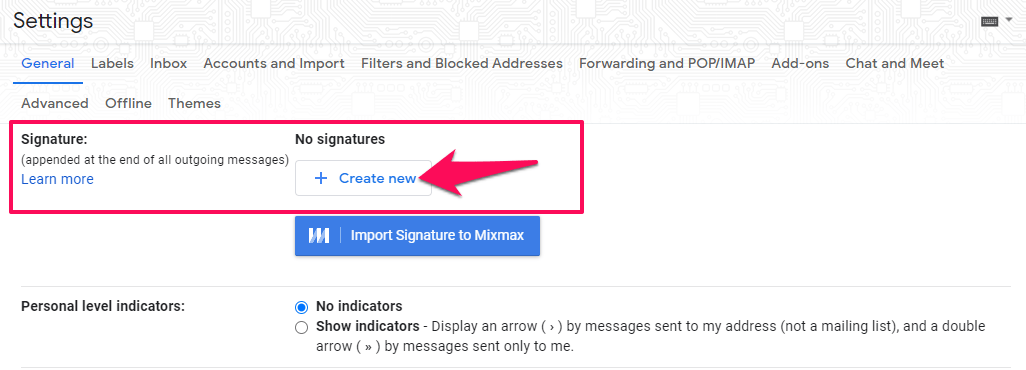
Step#4: On this page, scroll down to the Signature section. This is where you will create your email signature in Gmail.
Step#5: Since this is your first signature in Gmail, you won’t see any other signatures listed in this section. But when you have more than one signature, they’re all listed here.
Step#6: Click on Create new to start working on your signature.
Step#7: Give your email signature a unique name that you can identify when choosing your signatures later.
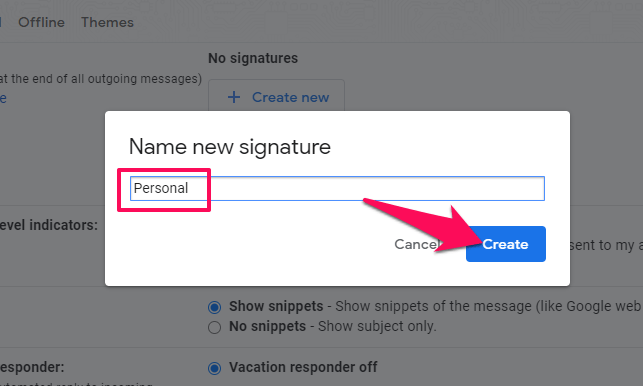
Step#8: Click on Create to close this box.
Step#9: You can now see your signature in the signature list. But it does not have any content yet.
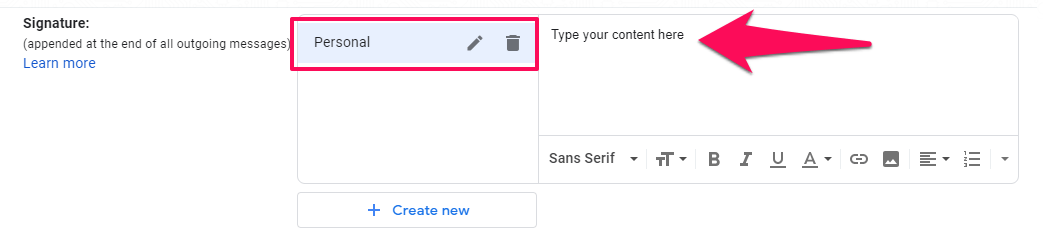
Step#10: To create your signature content, click on your signature name in the list.
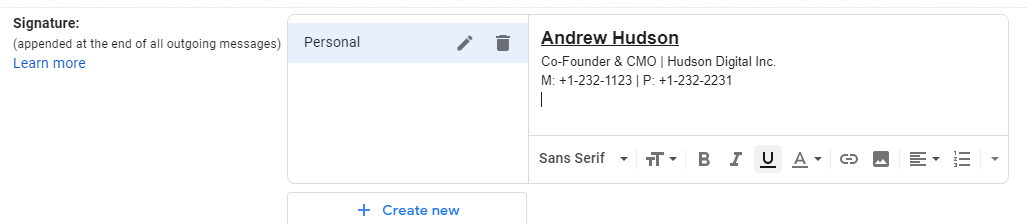
Step#11: Enter your signature content in the text editor, like your name, designation, contact details, social media profiles, and any other information you want.
Step#12: Use the formatting options like bold, italic, underlines, and bullet/numbers in your signature if you want.
Step#13: You can also upload an image or an animated GIF to your signature (like your company logo).
Step#14: Once you finish editing the signature text, move to the Signature defaults section below it.
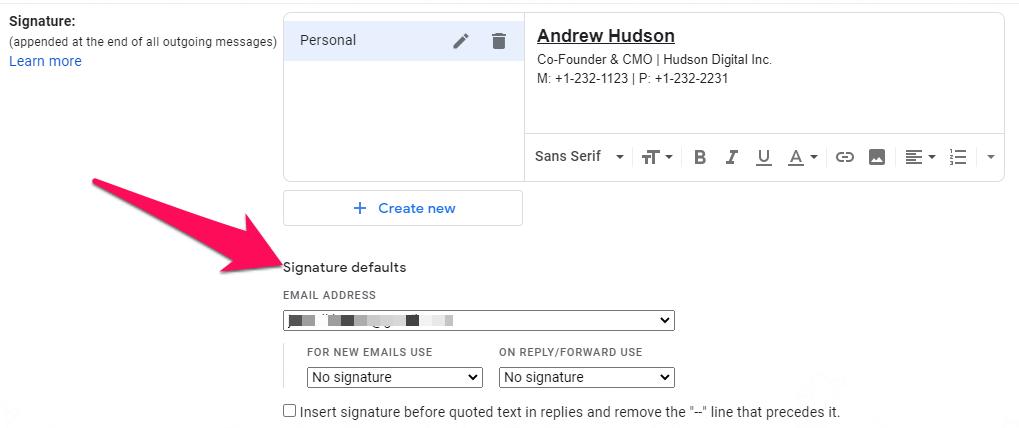
Step#15: In this section, you can configure how and where your signature is used.
Step#16: If you have multiple email addresses associated with your Gmail account, use the dropdown menu to choose the relevant address you want to use with your signature.
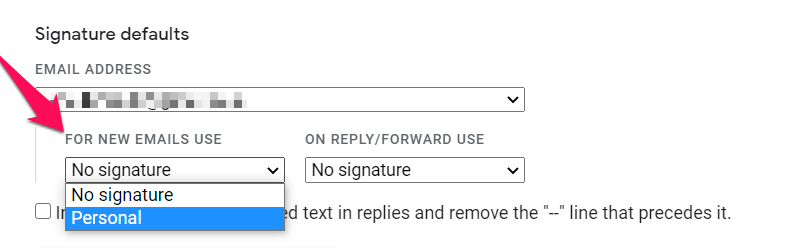
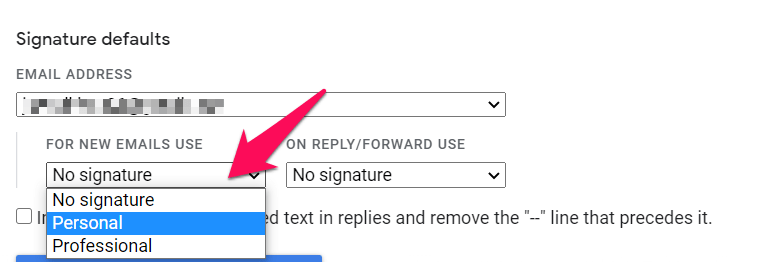
Step#17: Next, use the dropdown menu under For New Emails Use to choose the signature you want to use for every new email you create.
Step#18: If you want to use a different signature or no signature in your email replies, choose it from the menu under On reply/forward use.
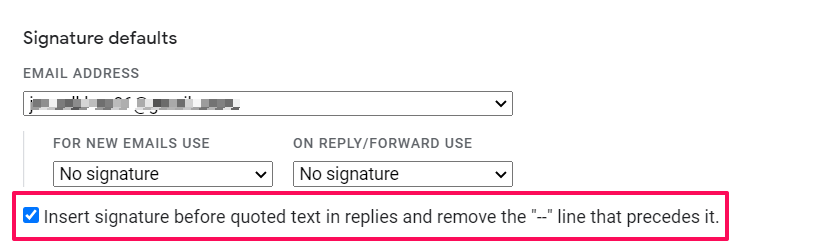
Step#19: If you want to add your signature before the quoted text in your email replies, check the box at the bottom of the signature section.
Step#20: Click on Save Changes at the bottom of the settings page to complete this process.
That’s it! Your email signature in Gmail has been configured successfully.
Now every time you create a new email, respond to an email, or forward an email in your Gmail account, your signature will appear depending on your account settings.
How To Create Multiple Signatures In Gmail
You can create multiple email signatures in Gmail using the same process that I described in the previous section, with a minor change.
Once you have more than one signature, you can use them with different email addresses associated with your Gmail account.
Here’s how to do it.
Step#1: Go to the Signature section of your Gmail account settings (as explained earlier)
Step#2: Currently, you have only one Gmail signature listed in your account.
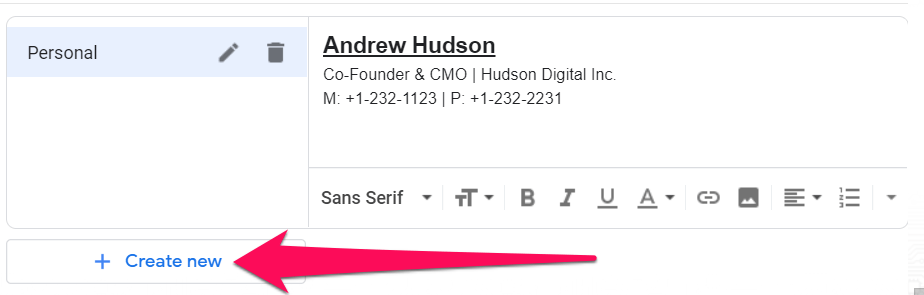
Step#3: To create another signature, click on the Create New button under the signature list.
Step#4: Just like the first signature, use a unique name for your second Gmail signature as well.
Step#5: Create your signature content in the text editor.
Step#6: You can now see your signature in the signature list.
Step#7: Click on Save Changes at the bottom of the settings page to complete this process.
You now have multiple signatures in your Gmail account.
How to Change Your Signature in Gmail
Just like creating an email signature, changing your Gmail signature is also very simple.
To change your signature, you need to have multiple signatures in your signature list. If you only have one signature right now, create another one using the process shared in the last section.
Here’s the step-by-step process for changing your Gmail signature.
Step#1: Go to the Signature section in your Gmail account settings (as explained earlier).
Step#2: Go down to the Signature defaults section.
Step#3: In the first dropdown menu, choose the email address for which you want to change your signature.
Step#4: Right below it, go to the For New Emails section and change your signature by choosing one from the dropdown menu.
Step#5: If you want to change the signature for replies and forwarded emails as well, choose it from the menu under On Reply/Forward Use.
That’s it, you have successfully changed your Gmail signature.
How To Delete A Gmail Signature
If you want to delete one or more signatures from your Gmail account, follow this step-by-step process.
Step#1: Go to the Settings section of your Gmail account by clicking on the gear icon on the top right of your screen.
Step#2: Scroll down to the Signature section.
Step#3: Here, you’ll see a list of all your signatures.
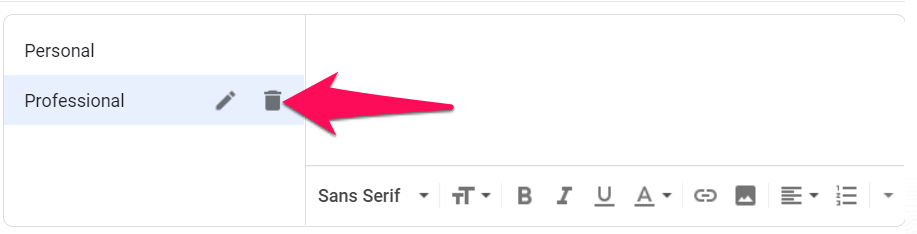
Step#4: Click on the signature that you want to delete from your Gmail account.
Step#5: Click on the bin icon to delete your signature.
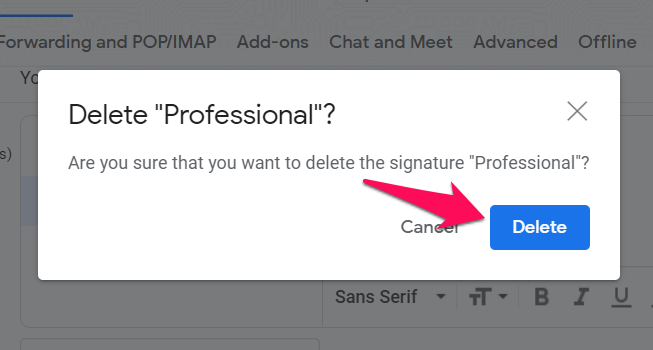
Step#6: Click on the Delete button in the confirmation message as well to permanently delete a signature from your account.
Once you delete a signature, you cannot recover it.
You can, however, create the same signature again if you want.
Tips for Making Your Signature Professional
An email signature is a powerful way to share additional information about yourself and your brand. You can use it to make your emails stand out from others and make a strong impression on your prospects, business partners, and co-workers.
Here are a few tips to make your Gmail signature more professional and impactful.
Limit Your Signature To Four Lines, Max.
Your email signature should never be so large that it overshadows the actual content of your message.
This is why you need to limit the size of your email signature to four lines. This way, you’ll only include only the most essential information in your signature.
Also, make sure that your signature’s text size isn’t different from your email message’s default font and text.
Use Your First And Last Name
Your email signature should always start with your first and last name. It should be the same name you have in your email settings and across your professional social media profiles.
Share Your Professional Title And Designation
Right below your name, share your professional title and company designation so that the recipient knows who he’s talking to.
Add Your Company Logo And URL
If you’re representing your company, adding its logo along with its official website URL adds a strong professional touch to your signature.
However, you can also choose to use your picture instead of your company logo and only mention your company name as text content.
Link To Your Professional Social Media Profiles
Social media profiles play a massive role in building your brand image and telling people who you are.
This is why it’s important that you only link to your relevant professional profiles in your email signatures. Usually, that would be LinkedIn and Twitter.
But if you’re in the digital marketing industry or have professional profiles on other social networks, you can also use them where needed.
But avoid linking to personal profiles where you share content and updates from your everyday life.
Use Your Brand Colors To Stand Out
Colors are a crucial part of your brand identity.
So don’t be shy to use a combination of different colors in your email signature. Usually, it should be the same colors as your company’s website theme.
But if you’re creating an email signature in your personal capacity, use the colors representing you and your personal brand.
Share Your Contact Details (Other Than Email)
There’s no need to share your email address in your email signature. However, you should mention any other contact details like Skype, cell phone, or Zoom that people can use to connect with you.
Share Social Proof To Build Credibility
Have you authored a best-selling book or been featured in a top publication in your niche?
Why not use it in your signature to make you look more credible and trustworthy?
If it’s something you’re proud of, your professional network should know about it.
Add A Call To Action To Promote Content
Have you recently published a new blog post, gave a TV interview, or launched a course?
Add a quick call to action in your email signature so that people can see your content if they’re interested.
Examples of Professional Email Signatures
I shared some of the best practices to make your email signature in Gmail look more professional.
Here are some great examples you can follow.

Ezra Firestone is a leading ecommerce marketing consultant with a multi-million dollar online training business. He uses a clean and minimalistic email signature that carries a touch of his personal brand statement along with the URLs of his active projects and social media profiles.
Here’s another example of a clean and professional email signature.

Ryan Deiss keeps it simple and to the point. His photograph, professional title, and social media links are enough to make an impression on his email readers.
Wrapping Up
Using an email signature makes you look professional, competent, and trustworthy. As I’ve shown in this post, adding a signature to your Gmail account is pretty straightforward and doesn’t take more than a few minutes.
If you have any questions about using Gmail signatures, let us know in the comments section.

